
 English
  French
  Spanish
  Turkish
  Russian
 Installation and Debugging of Filter Press
Install and commission the filter press in accordance with the professional instruction manual to prevent poor filtration performance caused by improper installation. The installation and commissioning steps are detailed below.
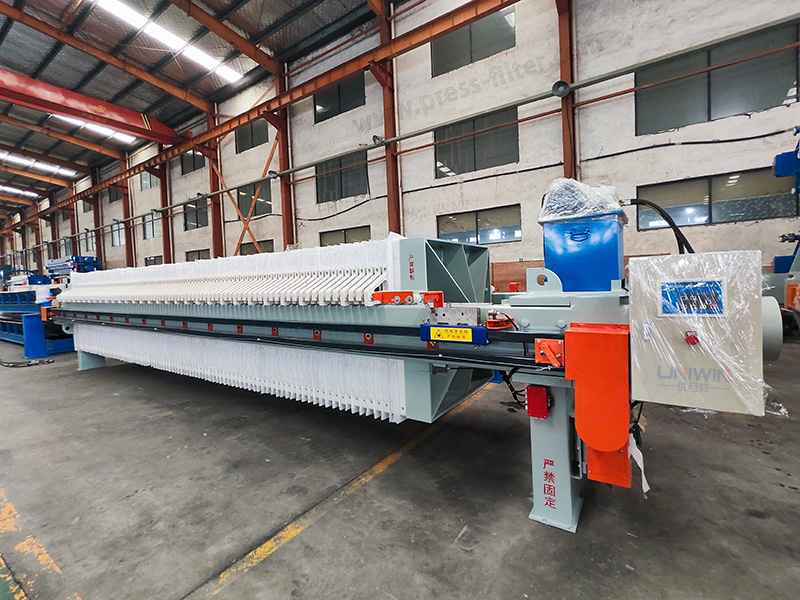
Basic Installation Steps for the Filter Press
Construct the foundation in advance according to the blueprints;
Align the feed-end support legs with the edge and secure them with full-penetration welds; for the hydraulic cylinder-end support legs, do not weld them in place but provide axial restraint (to accommodate sliding caused by the hydraulic cylinder’s operation), ensuring movement is restricted to axial sliding only, without lateral swaying;
Connect the appropriate water pump, water tank, piping, valves, instruments, and other components.
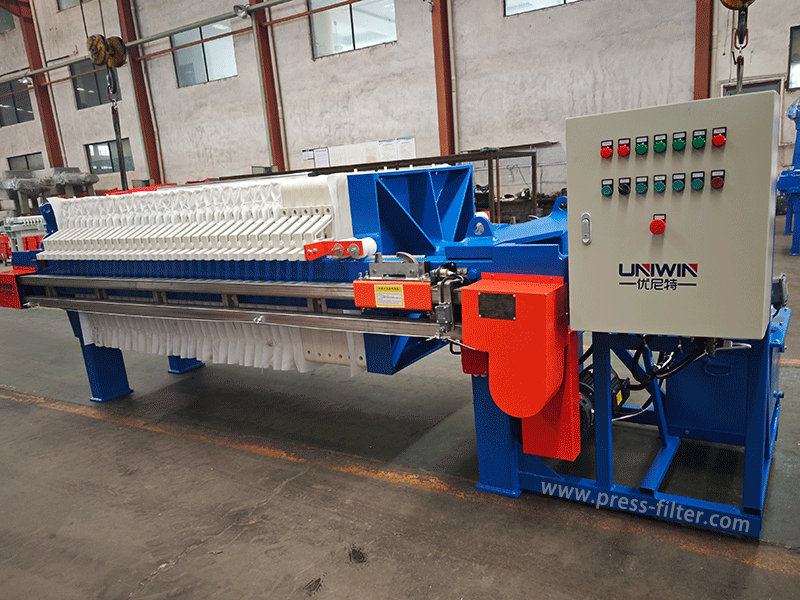
Pre-installation Preparations
Fill the reservoir with an appropriate amount of hydraulic oil—specifically, Grade 46 or 68 anti-wear hydraulic oil (compliant with Chinese national standards). Initially, fill the reservoir to its maximum capacity; once the hydraulic cylinder is operating normally, top up the oil level to above the midpoint of the gauge.
Connect the three-phase four-wire main power supply and the motor power cables according to the wiring diagram. Standard motors rotate clockwise (forward rotation). For the plate-pulling VFD motor, the plate-pulling carriage moves from the hydraulic cylinder end toward the feed end during the plate-retrieval sequence. The drip tray motor must operate in coordination with the requirements of the drip tray. For the belt conveyor motor, orientation is determined relative to the discharge outlet (viewed from the motor end); other motor configurations are to be determined.
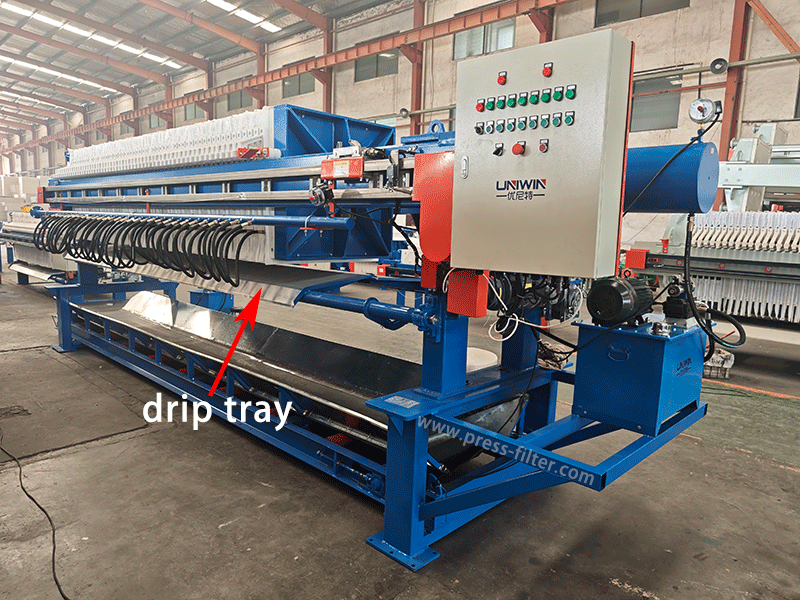
Connect the corresponding cables according to the attached documentation, and install components such as hydraulic hoses, cylinder pressure gauges, hydraulic limit switches, plate-pulling carriage limiters, and drip tray opening/closing limiters;
Adjust the angles and positions of the limiters, as well as the upper and lower limit settings of the pressure gauges;
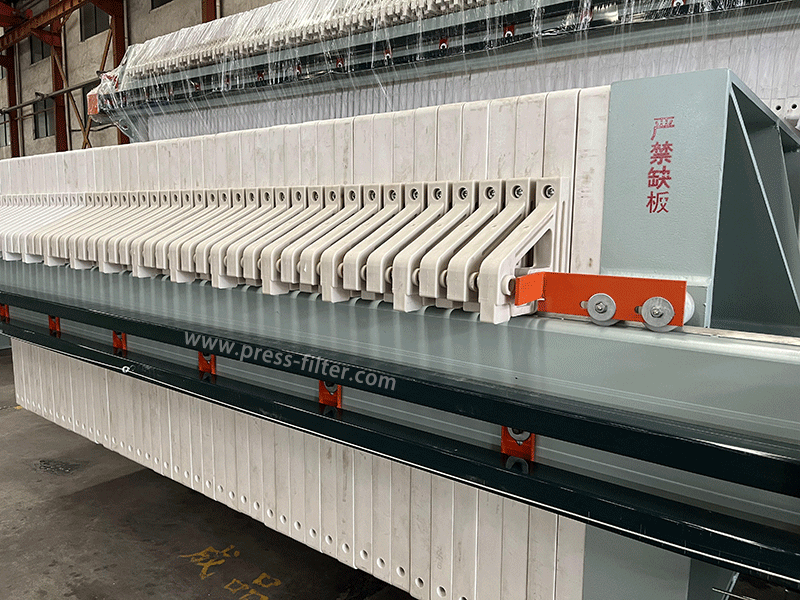
Filter Press Commissioning Steps
- Press the clamping button; the hydraulic cylinder advances to close the filter plates, and the pressure rises until the cylinder’s contact pressure gauge reaches the upper limit, at which point the system stops automatically and enters the automatic pressure-maintenance mode
- Initiate the feed sequence and start the feed pump; when the discharge flow decreases to a specific level, stop the pump and close the valve to halt feeding. For diaphragm filter presses, start the dedicated squeezing pump; when the discharge flow again drops to a specific level, stop the pump and close the valve to complete the feed sequence.
- Upon pressing the retract button, the hydraulic cylinder retracts and stops automatically at the limit position; simultaneously, the drip tray opens, and the conveyor starts running. The plate shifter automatically separates the plates one by one to discharge the residue, returns to its original position, and then automatically executes the clamping sequence (whereas in manual mode, clamping must be performed manually).
- The above steps are repeated in a cycle.
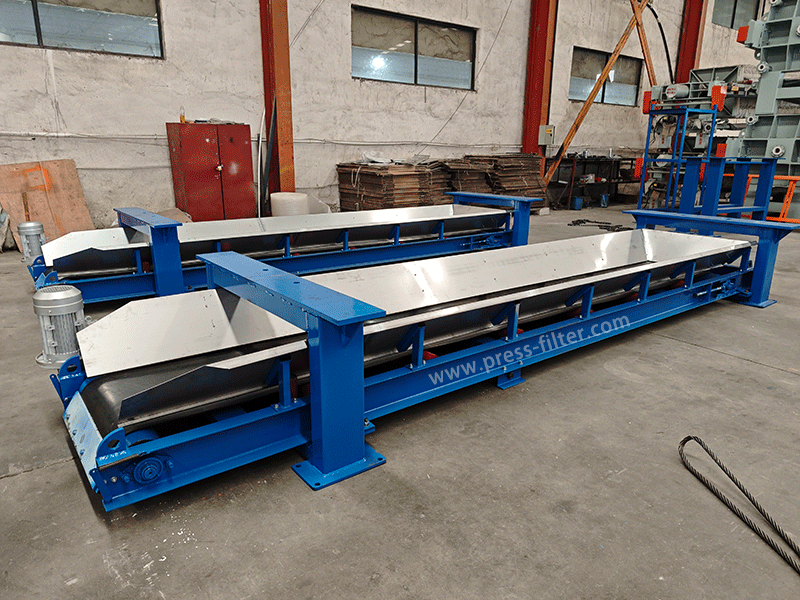
Important Precautions
- When discharging sludge, any residual sludge cake on the filter cloth surface and edge sealing surfaces must be removed.
- During use, the filter cloth must be thoroughly cleaned daily using a high-pressure water gun or by removing it for washing.
- For new machines, the support legs at the feed end must be welded firmly in place, whereas the support legs at the hydraulic cylinder end must strictly not be fixed.
- Filter plates and filter cloths must not be exposed to direct sunlight or rain without protection.
- No mud residue is allowed on the trolley, running track, or handle rollers.
- Assemble the machine strictly according to the specified number of filter plates; do not press with missing plates.
- After diaphragm pressing is complete, ensure all pressure is released before releasing the hydraulic cylinder.
- In case of any unusual situations, please contact the manufacturer immediately to confirm whether safety measures are in place.
Routine Maintenance
- Clean the equipment surfaces promptly; when discharging sludge, ensure the sealing areas at the edges of the filter cloths are cleaned (washing once daily with a high-pressure water gun is recommended).
- Change hydraulic oil and gear reducer oil every six months to a year, depending on actual usage; perform monthly maintenance on bearings, sprockets, and similar components.
- Apply lubricant to the mechanical handle mechanism of the plate shifter, but clean the reinforced plastic tracks only by rinsing with water or wiping with a damp cloth.
- Regularly inspect components such as the limit switches at the head unit and the hydraulic cylinder pressure gauge; repair or replace them promptly if any issues arise.